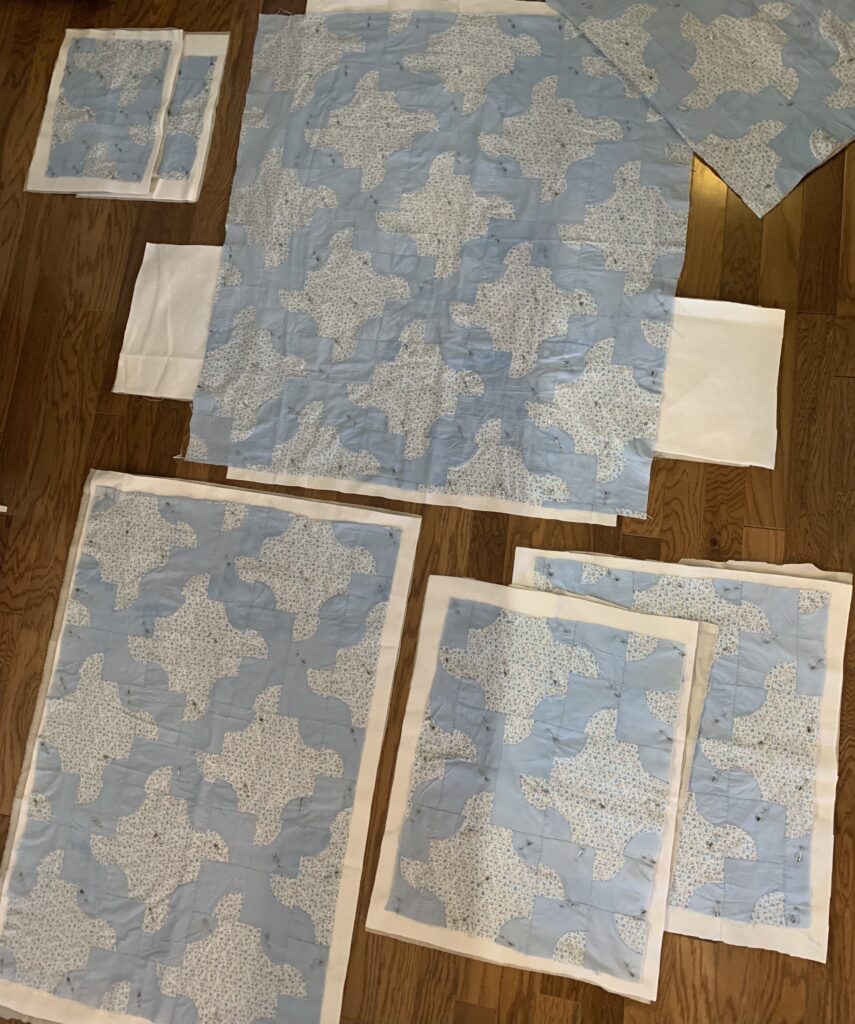
Way back in January I announced that I am riding the quilt coat trend! I started my first quilt coat and wrote about my progress in that long ago and long forgotten post. I believe when we left off I had basted together all of my little mini quilt sandwiches and was ready to begin quilting!
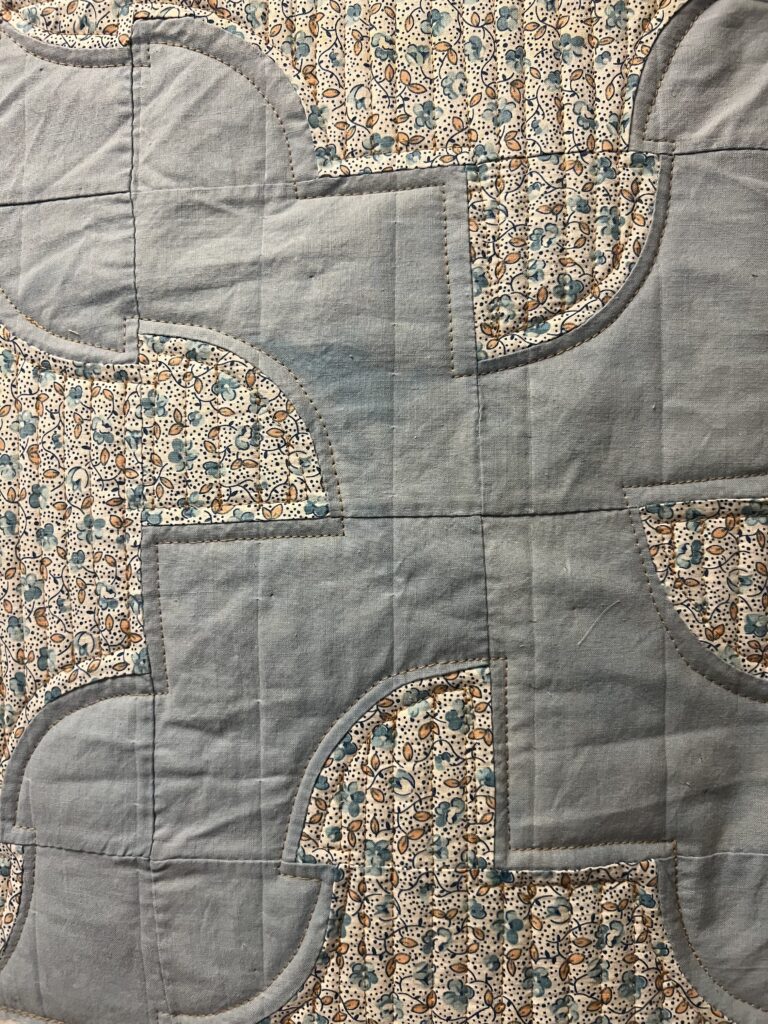
Eventually, I did start quilting and boy did that take a while! I was not sure how to quilt this and planned to do some simple diagonal lines. However, Rachel gave me the fantastic suggestion of quilting around the drunkard’s path shapes. So, I did that. And then also I quilted intersecting diagonal lines in the patterned sections of fabric. The quilting took much longer than expected, but I love how it turned out!
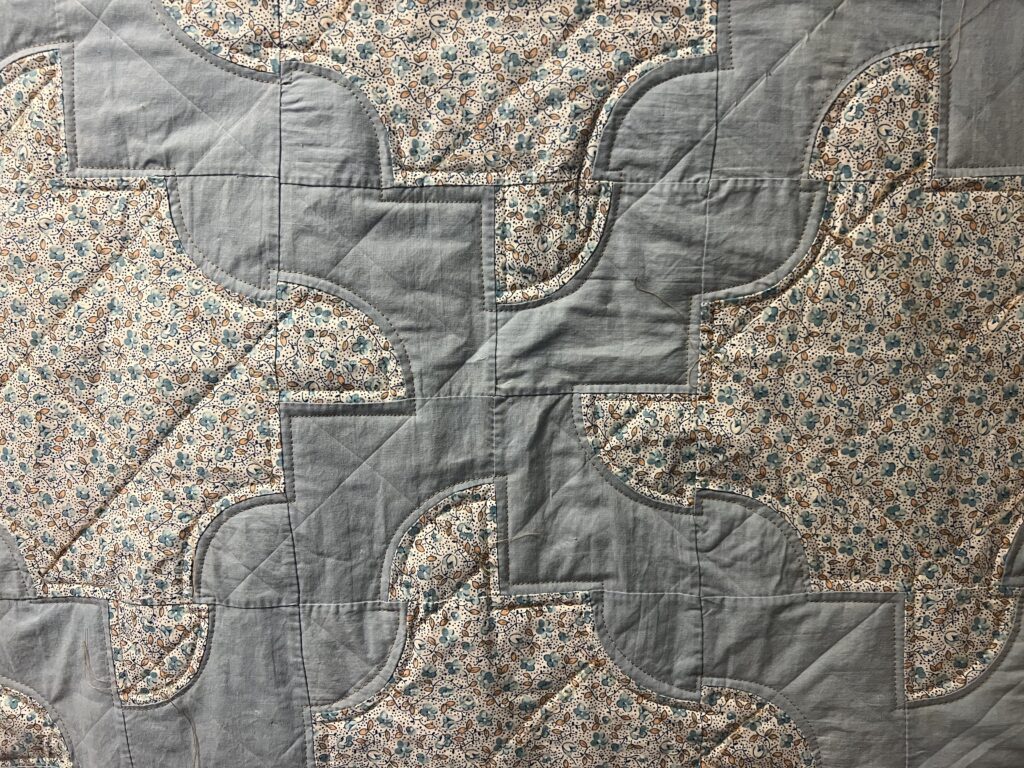
I made a slight change on the pockets, quilting straight lines closer together in the patterned fabric sections.
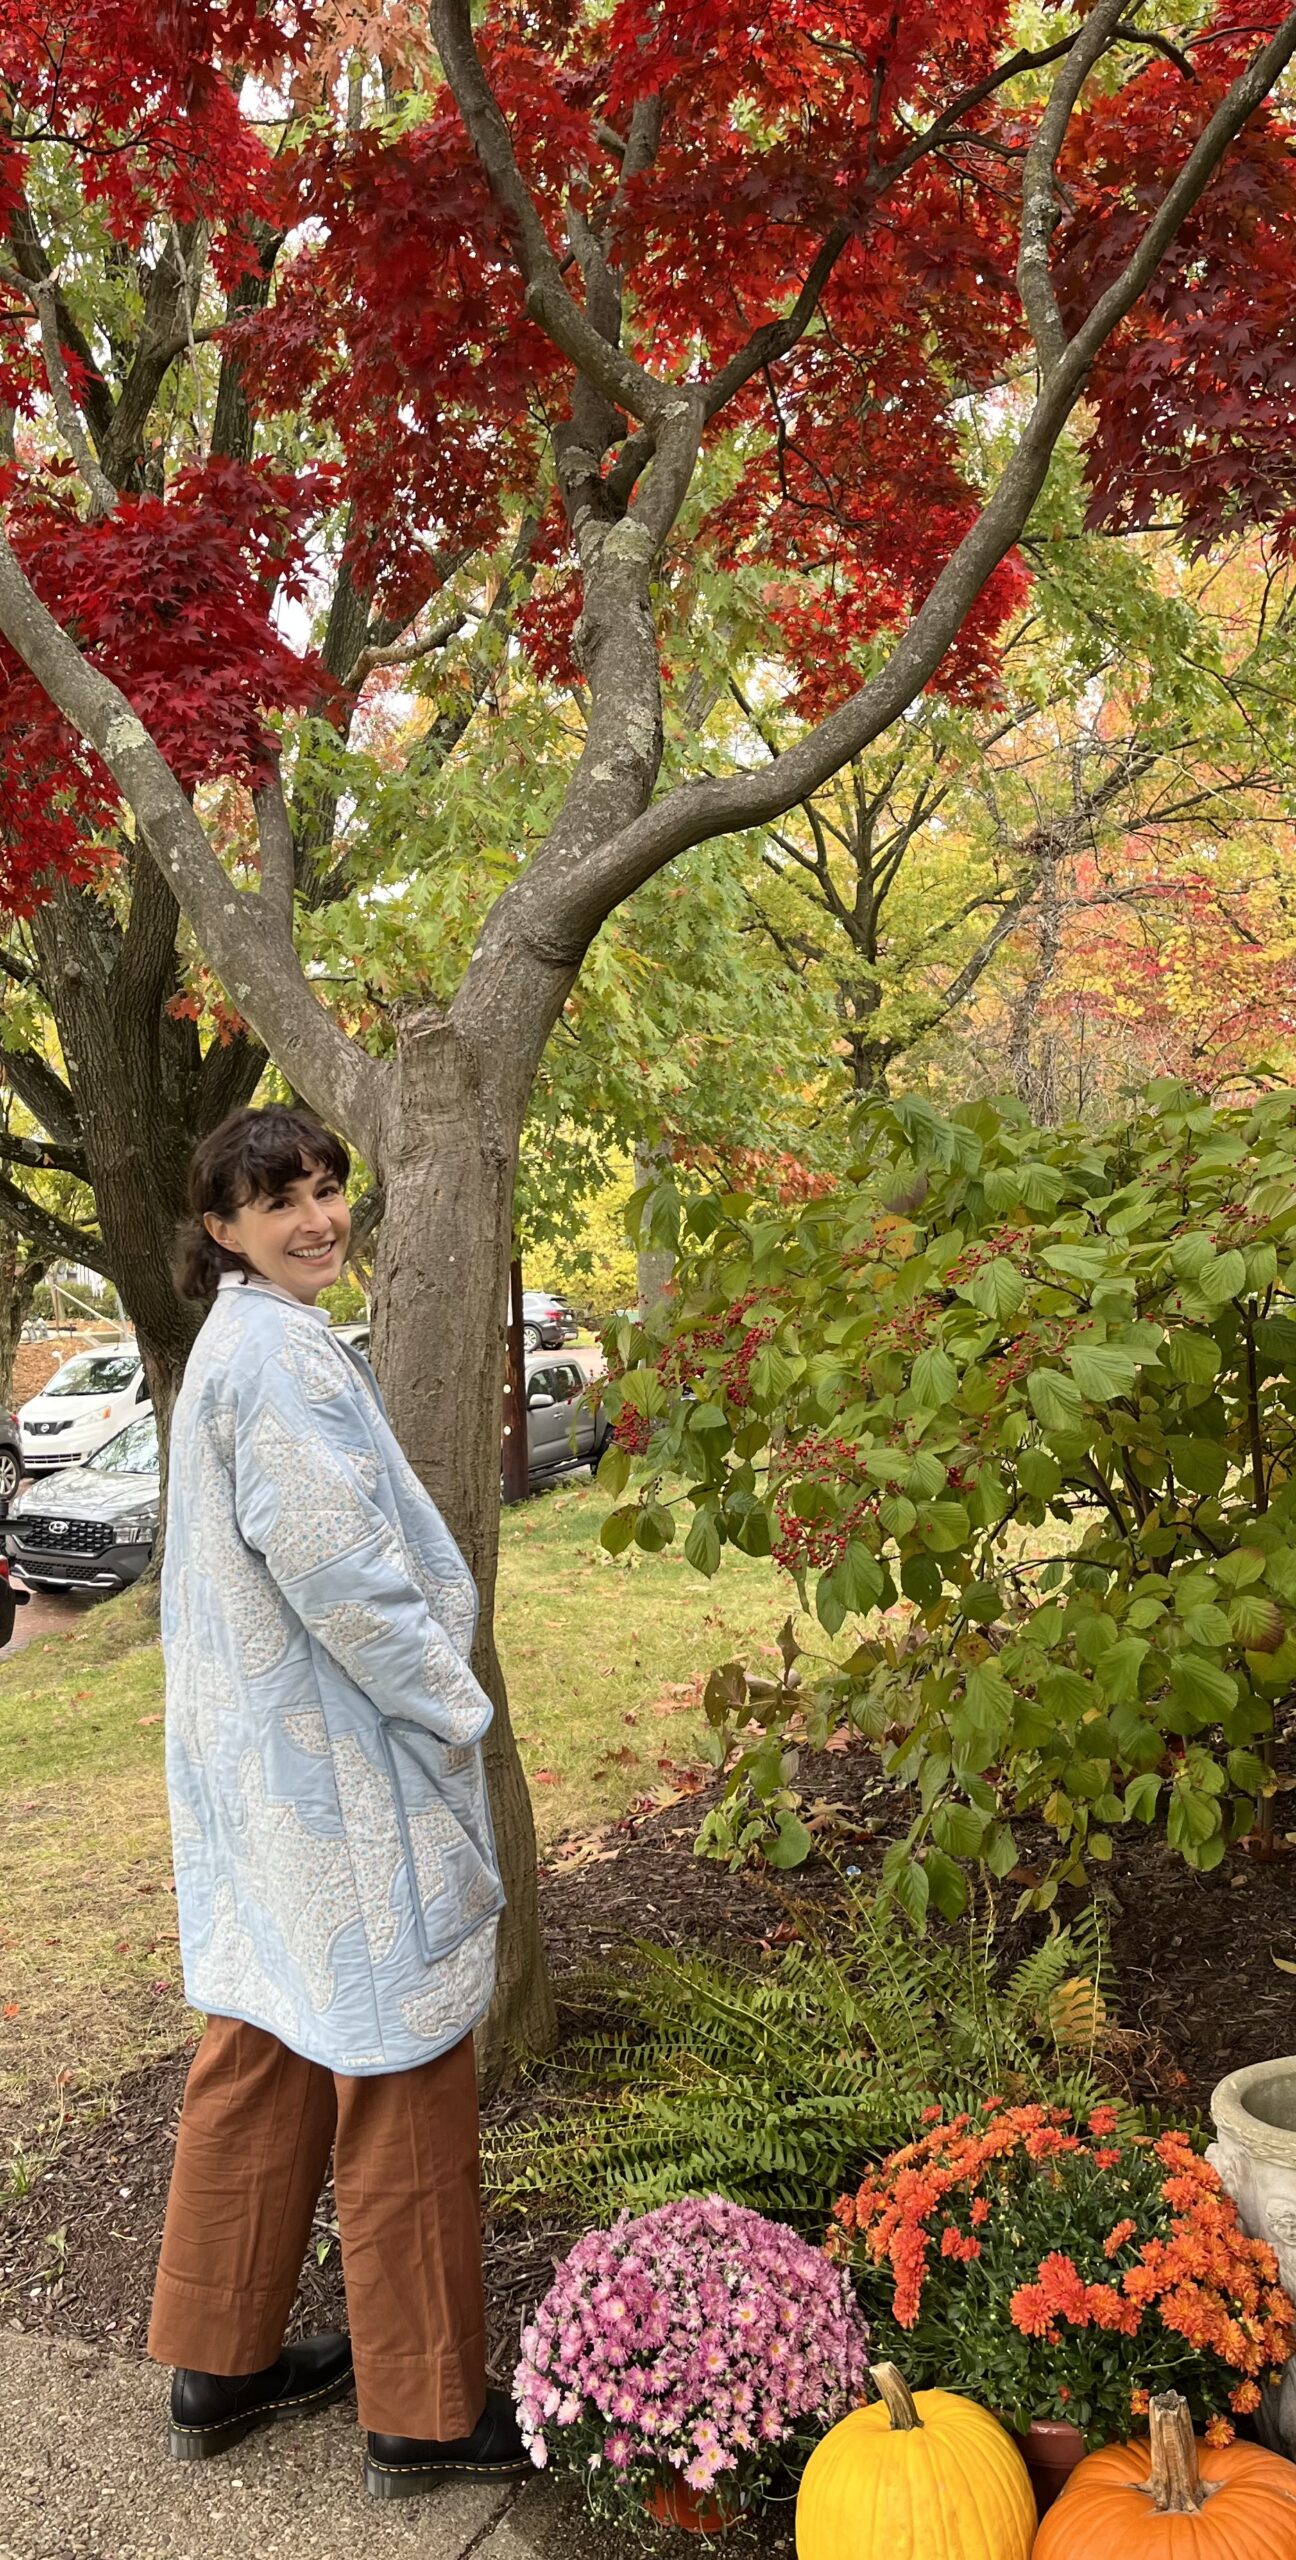
Then, other things in life interfered with my quilting and I set aside the quilt coat for a while. But then! When I felt the fall weather upon us, I was motivated to finish the coat for the chilly days ahead!
By this time, the quilting was basically finished and the assembly of the quilt was not too terribly difficult. As I mentioned in the last post, I don’t know how to sew garments. I picked what looked like a very simple coat pattern. (Again, the pattern was called “cozy coat” from an Etsy shop called tropicalresearch.) That choice worked out well because it essentially only took five pieces sewn together to have a coat!
Finishing the inside seams was something new for me. It was not too complicated though and the instructions in the pattern were helpful. Also new to me was making the bias tape! Admittedly, I spent one rainy Saturday watching YouTube videos on making continuous bias tape while my son played Subway Surfers on my phone. I used a light chambray fabric from Firecracker Fabrics — our fav neighborhood fabric shop — for all of the bias trim and it worked out great!
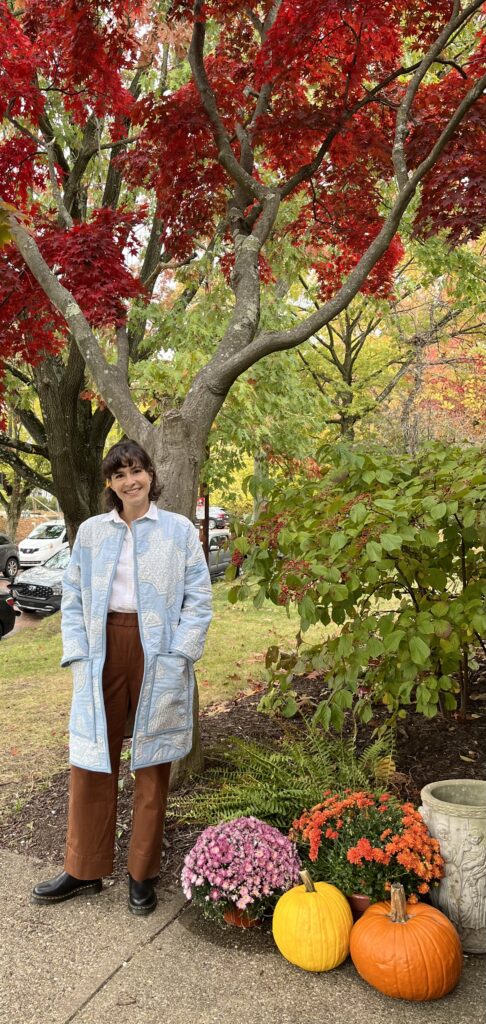
There are two things I wish I had done differently on the coat. 1. I could have made it in a size small. At the last minute I cut the pattern to size medium because I was worried about it being too small. (As I wrote in the first post, I could have taken the time to make a muslin and get the size right, but I was too impatient for that.) 2. I wish I had discovered bamboo batting before I made the coat. I think the bamboo batting would have been less stiff than the regular ol’ cotton batting I used.
Other than those things, I am happy with how my first quilt coat turned out!

It’s chilly in Pittsburgh this week. Perfect weather to wrap myself in a quilt all day!
This turned out so well!! I am so glad that you rescued this quilt top and turned it into this stunning garment. I hope that the woman who sold it to you at the yard sale sees it – I bet it would bring her so much joy to see how it has been transformed. Also you must wear this to the 3 rivers quilt show next year. Now I really want a quilt coat of my own!